Adding the Appoxee Android SDK to Android Studio Project
- Former user (Deleted)
- Yoni Gross (Unlicensed)
The following instructions are for developers using Android Studio.
For Eclipse integration see: Alternative - Adding the Appoxee Android SDK Using Eclipse
We have simplified the process by creating an AAR file which can be downloaded from our download page.
The instructions are followed by some screenshots and code samples which will result the most basic integration with the Appoxee SDK.
The Test Application located in the download page contains a full code sample of what is written here.
1.Download the .AAR file from the download page.
2. Open the Android Studio and create your application
3. Import the Appoxee SDK aar file
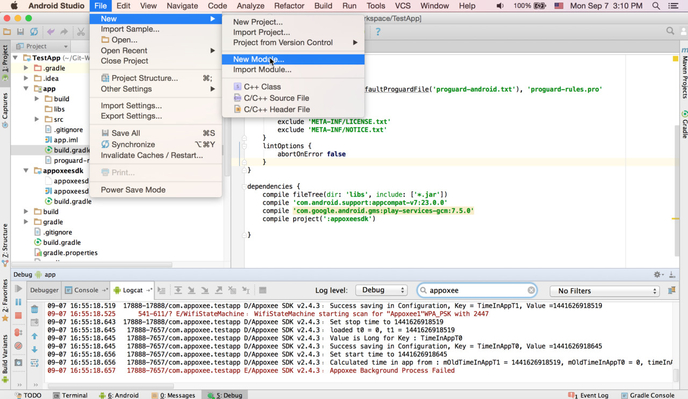
4. Select "Import .JAR/.AAR Package"

5. Select the Appoxee SDK aar file from the location you have saved it
6. Make sure your application build.gradle file include the applicationId attribute for android defaultConfig. Alternately, you can replace ${applicationId} with you application package (e.g com.yourapppackage.app). Also please add the following dependenices to your app's gradle.build dependencies section :
android {
	...
	defaulfConfig {
		applicationId "com.yourapppackage.app"		//make sure you have this
		...
	}
}

...
dependencies {
    compile 'com.google.android.gms:play-services-gcm:8.1.0'	//8.1.0 or above
    compile project(':appoxeesdk')

	//in case you want to use our in-app inbox, or use proguard:
	//compile 'com.j256.ormlite:ormlite-core:4.48'
	//compile 'com.j256.ormlite:ormlite-android:4.48'
}